Sound
What we call sound is simply vibrational waves traveling through a substance, usually air, and our eardrums then vibrate in response to the moving waves of air. The vibrating ear drum then excites various nerves which sends the signals to our brain where we interpret it as sound. The closer these waves are together, the higher in pitch we hear it as. Hence high pitched noises are waves that are close together, and in low pitched sounds the waves are farther apart.
Frequency
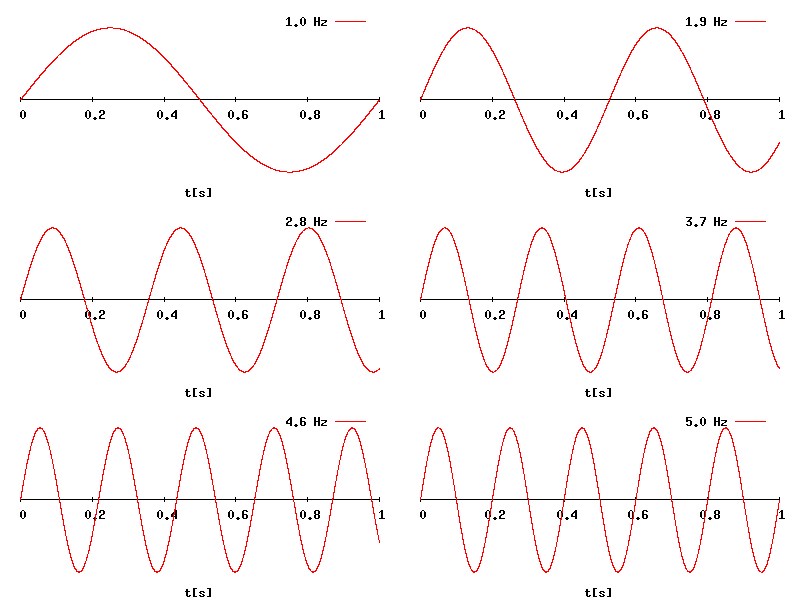
The pitch/frequency of these waves is measured in hertz (Hz.) which is the number of times a waveform repeats per second. A sound of 20 hertz is extremely low and vibrates at a rate of 20 times every second, yet the wave peaks are still over 50′ apart! Humans can generally hear a maximum of 20Hz to 20kHz, meaning at most, we can hear sounds that vibrate between 20 and 20,000 times per second. Our hearing however naturally declines with age so a middle aged adult may only be able to hear sounds up to 14kHz. Sounds above or below these frequencies are completely inaudible, no matter how loud the sound is. Although in the case of low noises you may still be able to ‘feel’ it as a sense of rumbling that you can’t quite place.
Volume
The volume of a sound relates strictly to the height of the wave. The taller the wave, the louder the sound. If thought of as a 2-dimensional cross-section, the distance between peaks is the pitch or how high or low the note is, and the height is how loud it is. It will be evident to the astute observer that there is a much larger cross-sectional area for low pitched sounds for a given volume level. This is why Hi-Fi sound systems need so much power to reproduce those deep bass notes. There is simply a large amount of air to be moved, requiring more energy. Another way to visualize this is as a tsunami. The swell that forms is very broad at its base extending for a hundred miles or more, but is only a few feet higher than usual. It’s not until it is compressed from the up-sloping land, that the water is forced upwards and one sees the true energy it contains.
Decibels
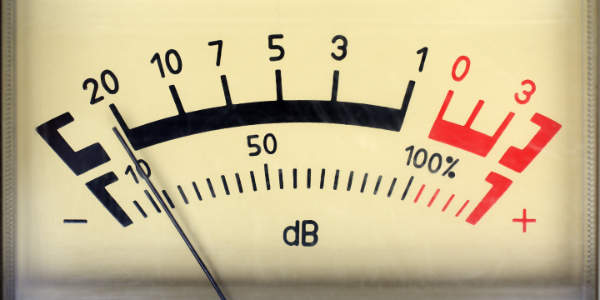
Volume is most commonly measured in decibels, and is used both as an absolute value to represent volume, and as a measure of an increase or decrease in a signal’s strength. It uses a logarithmic scale so 30 db is 100 times louder/stronger than 10db. In audio recording, 0 is normally designated as the maximum signal strength before you run out of room to hold the sounds, everything higher than this ‘clips’. Signal strength is then referred to as a negative value from this. Ie. one might generally set the gain so the db meter peaks around -6 under normal conditions, to allow for a little headroom in case the sound level increases.
Recording Levels
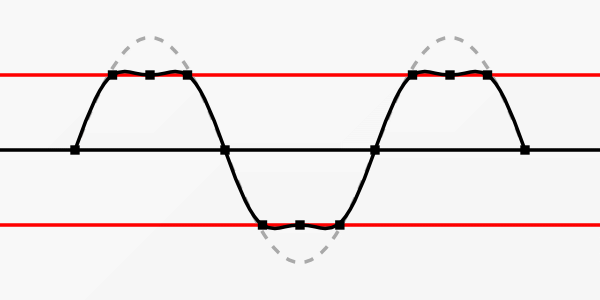
First on the list is to make sure you understand what ‘gain’ is. Gain is simply the amount of increase in the electrical signal that is representing the sound. So, when the sound hits the mic it is converted into an electrical signal, the strength of that electrical signal is called ‘gain’, its amplitude is then interpreted as equivalent to the volume of the sound, and it’s frequency the pitch. Getting the gain correct on the entire chain, from microphone to recording device is important. Simply put, if the sound you are recording is too loud for the mic or recorder settings they will ‘clip’, meaning that the sound has overflowed the cup so to speak, resulting in an extremely unpleasant recording. Trust me, you’ll know it when you hear it! However, there is only so much resolution within any signal, only so many discrete places to store information. Say for example, you have a signal that can hold a maximum of 100 volume units before reaching the top and running out of room. As such you could record sound at a maximum of 100 levels between quietest and loudest and no more. So what ever sound you are trying to capture must fit within those 100 units or else distortion results.
If however, your signal is too low and you end up representing all of your sound with only 8 or 10 blocks, the resolution will be very coarse and sound thin and raspy even when the speakers are turned way up. Another major effect of too low a gain will be when you do turn up the volume to compensate, you will unavoidably be increasing all the noise as well.
SPL
SPL stands for Sound Pressure Level and is just the measurement of the actual force of the sound at any given time. This is the raw energy that you can feel in your chest, rattles the windows, or bursts eardrums. This is important for one key reason; microphones have a limit of how much sound pressure they can tolerate beyond which they can no longer reproduce the sound faithfully and, you guessed it, distort. Microphones are rated for SPL and it’s something to look for when purchasing a mic. So if you’re going to be recording a kick drum you’re going to need a mic with a high SPL rating to prevent losing the recording and possibly damaging the mic. SPL drops off with the square of the distance though, so pulling the mic away from the sound source is often times an option.
Bit Depth
Digital recordings are made at a certain ‘bit depth’, which represents the amount of information that can be fit in any particular slice of that recording. Every extra ‘bit’ increases the resolution by a factor of 2. So a 16 bit audio file has 65,536 ‘units’ of potential information at its disposal to describe the waveform, and 32bit audio has 4,294,967,295, that’s a large difference in case you missed it! However anything past 24 bits is inaudible to ALL humans, the only purpose of higher is to have more headroom for gain. How those bits of information are filled is what someone is talking about when they speak so knowingly about high quality mics, pre-amps etc. So remember all the expensive gear you can buy, won’t help if your recording it using 4 bits… It would be a bit like drawing the Mona Lisa with a Connect 4…

32 Bit Recording
Remember what you read about gain?, with 32bit you can forget about most of it… 32 bit recordings simply have so much headroom as to be for most practical circumstances ‘un-clippable’. Meaning you really have to work at it to get your audio to clip. At that point your biggest concern is making sure your mic is positioned well and that the mic itself doesn’t get over-driven.
The biggest downside is that some equipment can’t work with 32 bit files, although thankfully they are becoming more common as time passes. The file sizes are also larger but compared to HD and 4k video and modern storage, it’s usually not a concern.
Microphones
Here is a basic breakdown of the most common types and their common usages.
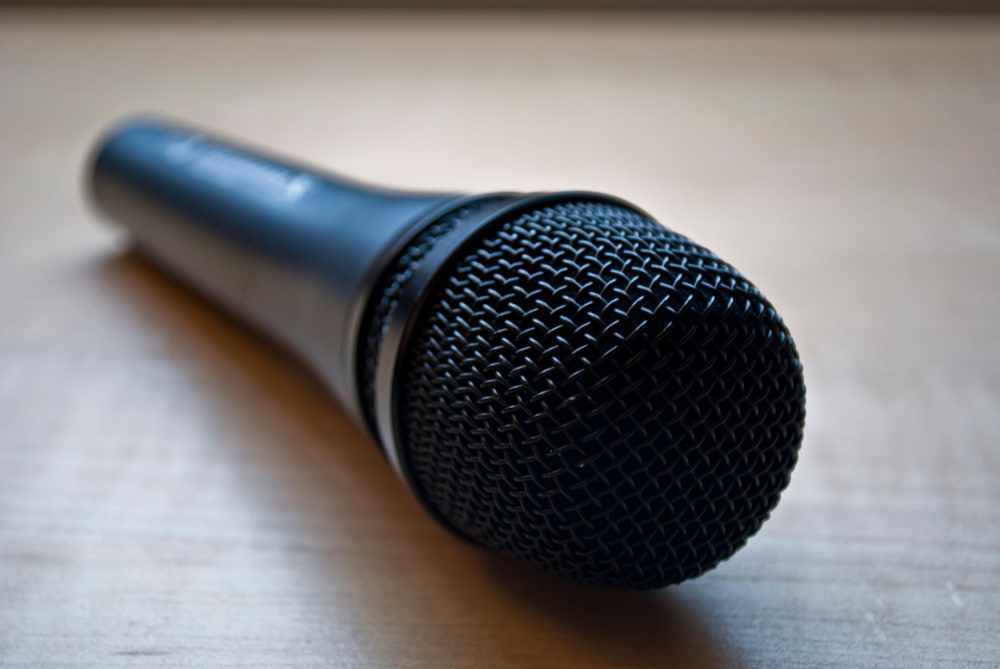
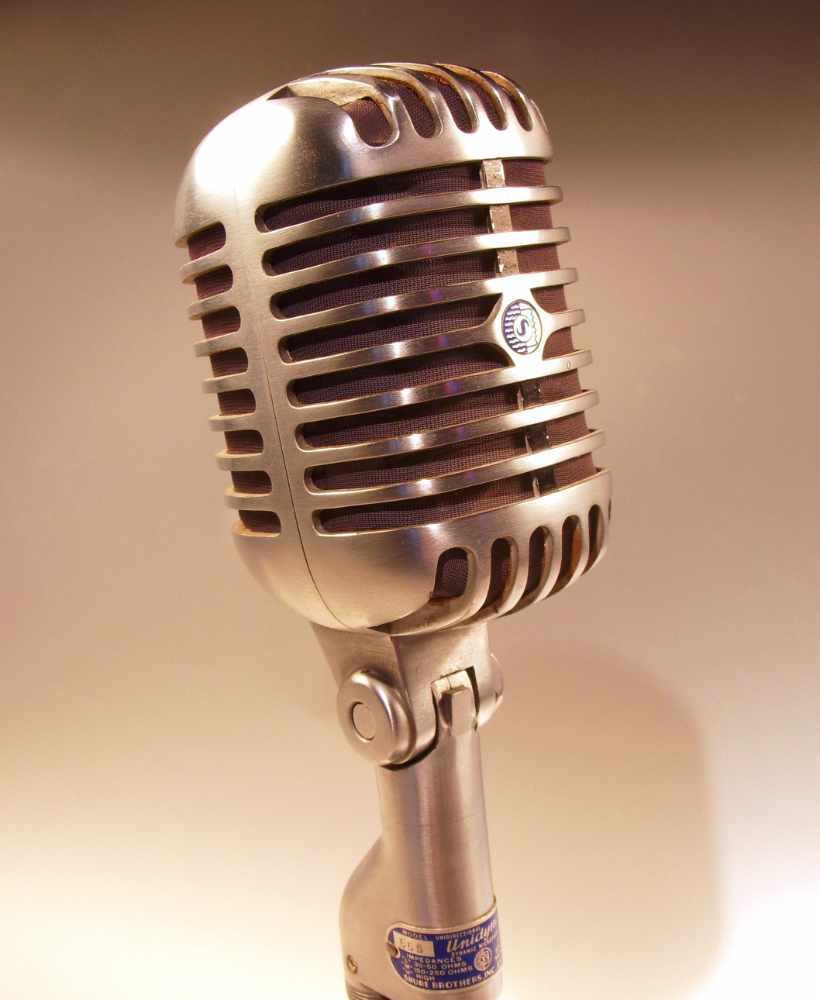
- Dynamic mics are unpowered (well, technically they’re powered by the sound waves…) and not very sensitive, and can be directional, making them the most common choice for noisy live environments. They must be placed within 2″ of the target sound to work optimally.
- Condenser mics are powered, either via battery or 48v phantom power from an audio interface. These are quite sensitive, picking up sound from all directions, making them well suited to low noise indoor environments.
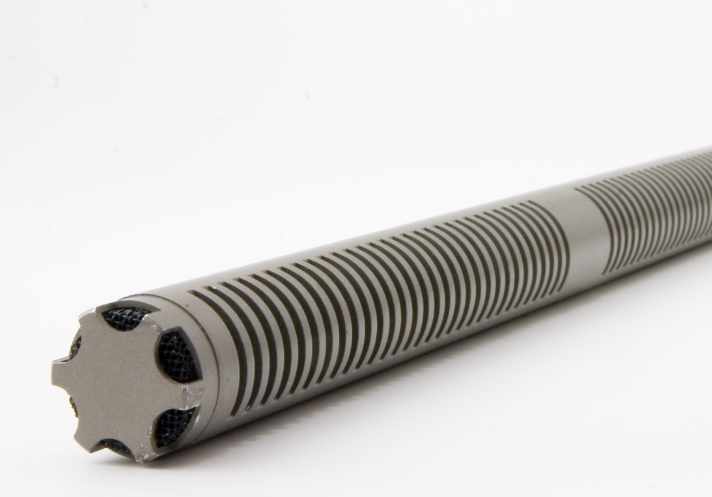
- Shotgun mics are powered and are rather long and thin tubes with the actual pickup element midway down the length. The business half of them is hollow with slits down its sides. This lets sounds coming from off-axis cancel out due to their particular geometry. The longer the tube the tighter the in-focus sounds, and the more that gets rejected. Due to their very directional nature, they are ideally suited to noisy outdoor places. Used indoors the can leave the audio sounding a bit off due to reflected sounds partially cancelling the main audio. Ideally placed 8″-36″ away from subject.
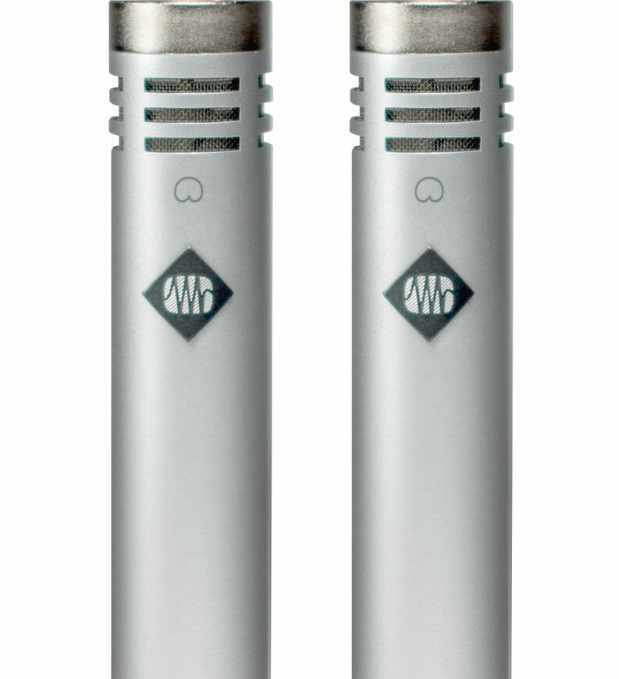
- Pencil mics are basically shotgun mics without the sound canceling tube on the end. This makes them preferable in indoor environments. They are also often used as a matched pair to take stereo recordings of sources.
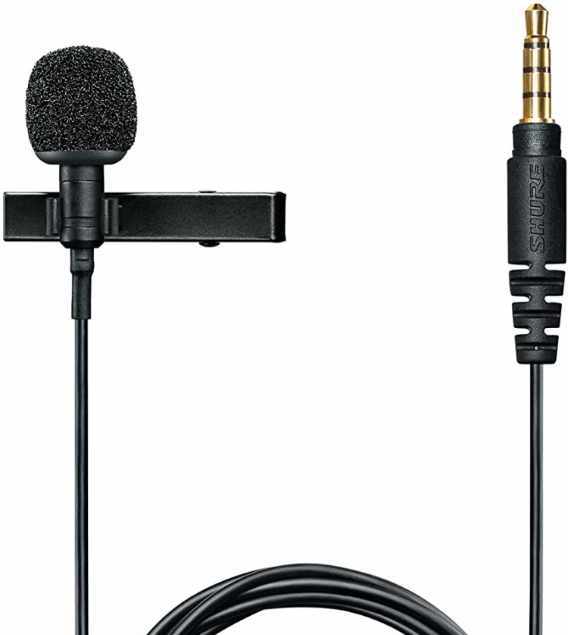
- Lavalier mics clip onto a shirt or other area in close proximity to a speaker. These may be corded and plug into either a camera or remote audio recorder, or an on-person field recorder, or as a wireless device. Although the wireless lav mics still have a wire going from the mic to the wifi transmitter, but from there it’s wireless…
- There are other types of mics available, but these are the most common by far.
Noise
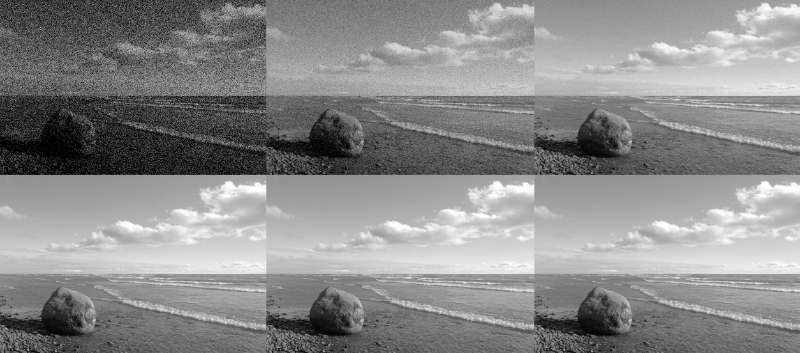
Noise is any sound that you don’t want in your recording. It cannot ever be completely removed, only mitigated. It comes from multiple sources, whether that be plosives from a someone speaking, a car horn, or the background hiss of the electrical components themselves.
Environmental noise is the easiest to spot, and must be controlled either through mic choice and placement, or by isolation of the subject. Think sound room, heavy curtains, thick heavy walls, staying out of the line of sight of the sounds etc.
Wind is another type of environmental noise but it’s largest contributor to bad recordings is the sound of it hitting the sensitive mic components and making very loud noises with seemingly little wind. This is best dealt with by encasing the mic in a “blimp” which is a hollow cage covered in wind proof material. Next best is to cover the mic with synthetic fur, which in this context is usually referred to as a “dead cat”. Short of either of those, a standard foam mic cover is better than nothing.
Reverberation is the echo of the sounds that you’re trying to record being captured. A little adds ambiance and “color” to the sound, but too much starts to make everything muddy and hollow sounding.
Handling can also introduce noise into the audio leading to unusable portions. This can be taken care of by using isolating mounts for microphones and ensuring cables are not rubbing any stands or booms. It tends to creep in below 75-120Hz. or thereabouts.
Plosives are the percussive sounds that many speakers and singers make unintentionally. This may be tamed by use of a pop filter, using a different mic, and by placing the mic slightly out of the line of breath.
Sibilance, or the high pitched e”sss” “sss”ounds people make during speech, is generally a function of the speakers voice characteristics, and can’t be altered much except for after recording by using a de-esser, which looks for those particular sounds and lowers the volume of (ideally) just those sounds.
Electrical noise comes from all of the components that make up the sound gear, from the guitar amp, to the mic, pre-amps, cables etc. This is usually a constant static or hum, but can also be crackles from a poor connection. This should be tackled by increasing the quality of the equipment, or short of that, by using a software noise reduction tool during mixing.
The Condensed Version…
- Ensure that your microphone and recorder have their gain set correctly to avoid all reasonable chance of clipping. ie. the normal expected volume levels should result in -18 to -12 db. on the meter, but you may need to quickly adjust once recording starts if something changes, so pay attention!
- Separate your subject audio from all undesirable sounds as much as feasible, including sound reflections ie. reverberation. Reduce background and ambient noise through distance, blockage, and microphone placement.
- Use a wind screen of some sort if outdoors.
- Get the microphone as close to the desired sound source as feasible for optimal clarity and reproduction. Ideally a 8-20″ distance and pointed away from any undesirable sounds/reflections.
- Select the appropriate microphone(s) for the task at hand. Namely either a lavalier mic hidden or not if you can manage it or have no one to hold a boom, shotgun mic with a ‘dead cat’ for outdoor use, pencil mic for indoor use out of camera, condenser mic for indoor use in quiet environments, or a dynamic mic for noisy places where the mic can be seen and placed within 1″ or 2″ of the sound source. All of these come in different sub types as well to fine tune the results.
- Record to a high bit depth of 16-32bits, ideally without compression.
- And last, but very important, back up your files!


