

This is the accounting software we are currently using and this is how to use it…
Open up the app in a browser window: https://books.zoho.com/app#/home/dashboard
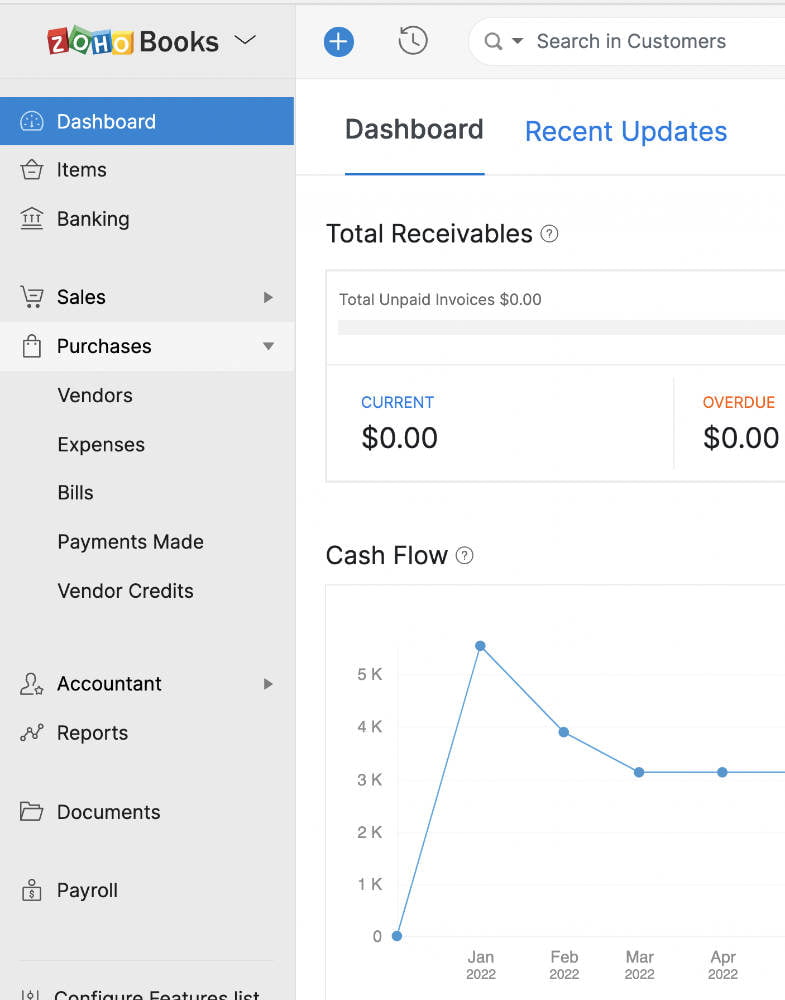
This gives a good overview of the general state of finances. From here you can directly see your Cash Flow, an Income/Expense graph, and see your banking accounts. See below for common tasks. Note: Once you use one of the links on the left the bar and then start navigating within the page it will collapse down to icons only, click on the arrow on the bottom left to expand it again.
Check on Banking Accounts
With the account set to auto update you can check to see if purchases/deposits have cleared.
On the left side click on “Banking”, then scroll down to the desired account and click its name.
Under “All Transactions” at the top you can filter the results by using the arrow on its button.
You can sort by clicking on any of the titles in the columns.
Reconcile Account Statements
Reconcile as often as needed to keep the books tidy. Daily, weekly or monthly, depending on how much is happening. You don’t have to wait for the official statement from the bank.
- When you reconcile outside of the statement, open the official bank account in question in a separate tab to get the most recent balance. (or whichever balance date you need)
- Click on the Cog icon in the upper right next to the red “New Transaction” button and choose “Reconcile Account” from the menu.
- Click on the red “Initiate Reconciliation” button in the upper right.
- Input the date of the closing balance and input the balance from the bank on that date.
- Match between the bank and Zoho and you’re done. Then the “Status” for those items will say “Matched” and a nifty green check will appear in front of it.
Make New Invoice
On the left if you click on “Invoices” it will take you to the list of your invoices. However if you click on the Plus icon in its right it will take you to the invoice creation page. Templates may also be assigned to a particular client within the client view. Click on the “More” dropdown button on the upper right and select “Associate Template”
- Look at the bottom right corner to see if the selected template is correct, if it is not, then click to change. NOTE: If you forget to do this or it does not work you can change the template for an invoice at anytime after creation by hovering over the preview of the selected invoice and clicking on the red “Customize” button, click it and select “Change Template”
- Select a customer from the drop down menu or create a new one from the bottom of the same menu. Don’t bother to fill out any other customer information than the name unless you believe it will be useful to have it there, barring the default terms, usually you will want to set that to “Net 30” for a 30 day deadline, but do as you will.
- The invoice should auto populate with the next unused number, if it doesn’t or you want to override it, click on the cog icon next to it and configure it from there.
- Invoice date populates with todays date, if that’s not what you want change it.
- You can set terms for due date in the next field. Remember that you can set a default terms time in each customers info section, or override it here.
- Select an item or add a new one, and a quantity.
- “Customer Notes” Defaults to what you have listed in your template, or you can add/override it here.
- Choose menu on the right of the red button at the bottom left and select “Save and Print”
Credit Note
Apply credit notes for returns or to make an In-Kind donation
- After the invoice has been made (It can be sent, or simply saved as a draft) click on the “…” menu at the top of the page and select “Create Credit Note”.
- The credit note will then be attached to the invoice and filled in with the name and todays date.
- All of the items from the original invoice will be on the credit note by default. Remove or change any of the items on the note that you do not want to credit the customer for.
- In the case of an In-Kind donation, add in an item defined ahead of time (in our case named “Food Pantry Donation”) and select an Income account that has been pre-designated previously to use as a holding account for your in-kind donations. In our case it’s simply named “Food Pantry Donations” and must be made as an income account.
- Input the donated value in the rate column of your “donation item”, then delete the other items that were donated.
- Under “Account” ensure that your donation account is selected. (it should be pre-populated according to the account you chose when you created the item)
Input New Receipt OR Bill
On the left nav. bar click the “Purchases” button, and then either the “Expenses” plus icon if you have a purchase that you have paid for already, or the “Bills” plus icon if it is a purchase that you owe but have not paid for yet, or if you just need to itemize the purchase.
Expense
- Put in the date (it defaults to todays date)
- “Expense Account” Choose this based upon how the purchase should be categorized, ie. is it an advertising expense, or fuel, repair parts etc.
- Put in the receipt total.
- “Paid Through” Choose the account that the money was drawn from to pay for the purchase. ie. petty cash, bank account, etc.
- “Vendor” is who you purchased it from, ie jacks gas station, amazon, etc. Select or add a new one.
- “Customer Name” is only needed if the item will be added to an invoice later and the charge passed on to the customer.
- Upload a PDF of the receipt on the right hand side.
- Click the big red “Save” button
Bill
This is mainly the same setup except you can itemize each entry and there is no provision for payment account, choose that when you pay the bill in Zoho. This lets you separate the various items by “Account” (read – expense account)